BardecodeFiler - NHM Workflow
Overview
This page provides step-by-step instructions on how we use BardecodeFiler at the Natural History Museum, London in our Pinned Insect Digitisation workflow.
Step by Step
Specimen Image Processing
We use BardecodeFiler to rename our images once we have finished image capture for the day.
Upon opening the program we have this window:
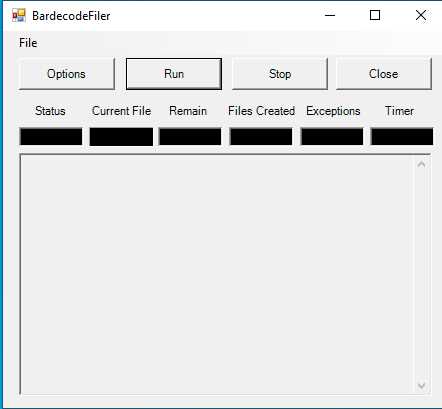
Figure 1: Main window of BardecodeFiler.
Go to options.
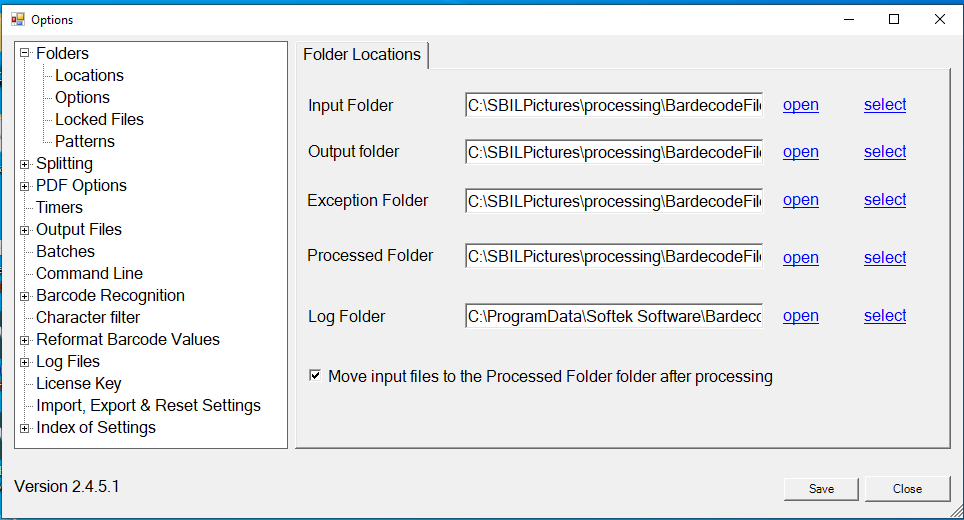
Figure 2: Options window of BardecodeFiler. Here we can set folders and other options.
Here we set the location of a number of folders:
- Input - the location of the raw images we want to re-name.
- Output - the location of images which have been successfully re-named.
- Exception - images that could not be re-named successfully, or those where two images were taken.
- Processed - were copies of the raw images are placed after re-naming has occurred.
- Log - where a log file of the re-naming should be written to.
Once these folder locations have been set, click save. And then in the main menu click run. The time this takes will depend on the number of images you are processing. The window will show the progress of the image processing.

Figure 3: BardecodeFiler window running renaming process. The number of images processed, and the time taken appears here.
Authors
Michael Jardine
Contributors
This work is built upon the working practices of the NHM staff.
Licence
The content of this workflow is the property of the Trustees of the Natural History Museum and may be used under a creative commons licence